Download One UI 4.0 (Android 12) OTA Update For Samsung Galaxy Devices With Installation Guide
Hi Guys, In this article, I’ll provide you One UI 4.0 (Android 12) OTA Update For Samsung Galaxy Devices So that you can install it and update your Samsung Galaxy Device with the latest Features!!
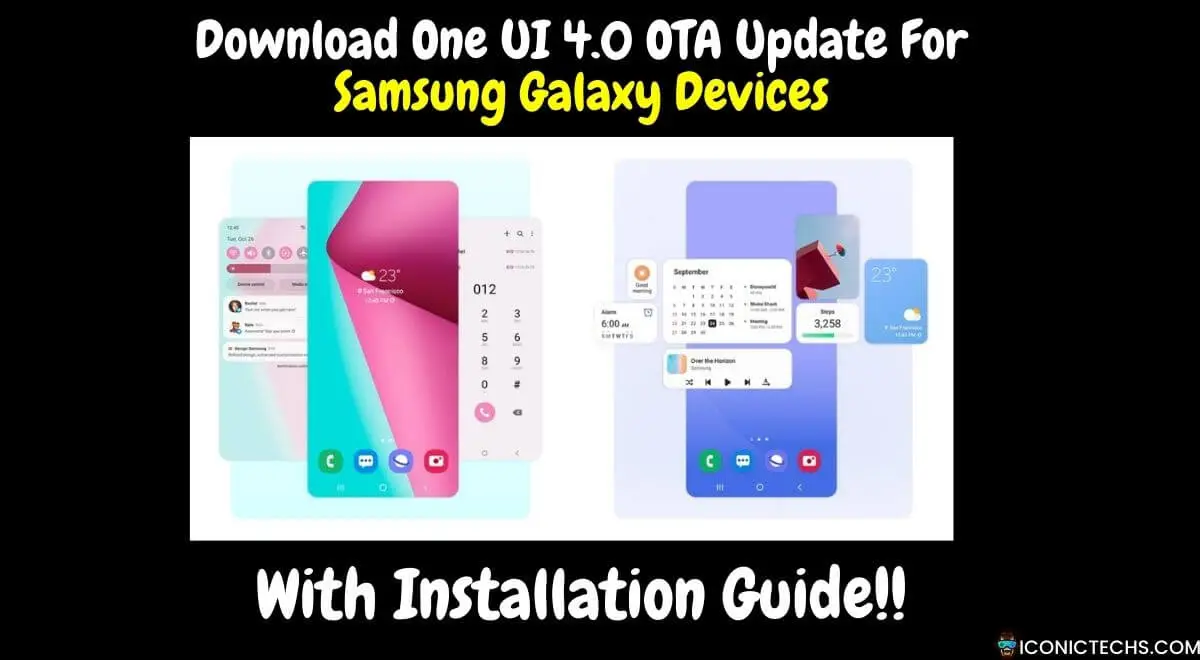
Samsung One UI 4.0 is a major change from Samsung with new improved features, it is one of the best iterations of its custom skin yet.
This iteration of One UI is based on the Android 12 operating system and introduces new improved customization and privacy capabilities that give users control over many aspects of their mobile experience.
According to News, the Android 12 Beta program will be available for users in seven countries.
Further in this, Samsung recently declared the One UI 4 Beta program for the Galaxy S20 and Galaxy Note 20 series in the UK because of which users who participated in Samsung’s Android 12 One UI 4 Beta activity started experiencing all the latest features and design changes.
Supported One UI 4.0 Beta Devices
Exynos
- Galaxy S20 (SM-G980F)
- Galaxy S20 5G (SM-G981B)
- Galaxy S20+ (SM-G985F)
- Galaxy S20+ 5G (SM-G986B)
- Galaxy S20 Ultra LTE/5G (SM-G988B)
Snapdragon
- Galaxy S20 5G (SM-G981U1)
- Galaxy S20+ 5G (SM-G986U1)
- Galaxy S20 Ultra 5G (SM-G988U1)
- Galaxy Note 20 Ultra 5G (SM-N986U1)
- Galaxy Z Fold 3 (F926U1)
KOREAN VARIANT
- Galaxy S20 5G (SM-G981N)
- Galaxy S20+ 5G (SM-G986N)
- Galaxy S20 Ultra 5G (SM-G988N)
Note: The manual flash method, better known as custom installing is for users who want to taste the One UI 4.0 beta program.
Users can directly download One UI 4.0 Android 12 Beta for supported Samsung devices using the OTA download link given below.
Important Note!!
- When it comes to flashing these OneUI 4.0 beta builds, you should start off from the first beta and then move over to the subsequent ones.
- Do not directly jump over to 2/3/4 beta builds from your current One UI 3.0 Stable build.
Download Links Of One UI 4.0 Samsung Galaxy Devices
Exynos –
S20 Ultra 5G (SM-G988B)
Beta 1 DUJ5->ZUK1 (Huge thanks to @LeeXDA18)
Beta 2 ZUK1->ZUKA (Thanks to @LeeXDA18)
S20+ 5G (SM-G986B)
Beta 1 DUJ5->ZUK1 (Thanks to @mefistos)
Beta 2 ZUK1->ZUKA (Thanks to @mefistos)
S20+ LTE (SM-G985F)
Beta 1 DUJ5->ZUK1 (Thanks to @corsicanu)
Beta 2 (UK) ZUK1->ZUKA (Thanks to @corsicanu)
Beta 2 (India) ZUK1->ZUKA (Thanks to @evil22)
S20 5G (SM-G981B)
Beta 1 DUJ5->ZUK1 (Thanks to @LeeXDA18)
Beta 2 ZUK1->ZUKA (Thanks to @LeeXDA18)
S20 LTE (SM-G980F)
Beta 1 DUJ5->ZUK1 (Thanks to Reddit user @adityadbz)
Beta 2 ZUK1->ZUKA (Thanks to @adityadbz)
Snapdragon (US Version)
S20 Ultra 5G (SM-G988U1)
Beta 1 DUJ7->ZUK7 (Thanks to @dinopeyton)
Beta 2 ZUK7->ZUKB (Thanks to @dinopeyton)
S20+ 5G (SM-G986U1)
Beta 1 DUJ7->ZUK7 (Thanks to @iHateCrapple)
Beta 2 ZUK7->ZUKB (Thanks to @iHateCrapple)
S20 5G (SM-G981U1): Not Available.
Korean Version
S20 Ultra 5G (SM-G988N)
Beta 1 EUI4->ZUK6 (Thanks to @3arthur6)
Beta 2 ZUK6->ZUKC (Thanks to @3arthur6 and @zwenchao_1989)
S20+ 5G (SM-G986N)
Beta 1 EUI4->ZUK6 (Thanks to @zwenchao_1989)
Beta 2 ZUK6->ZUKC (Thanks to @zwenchao_1989)
S20 5G (SM-G981N)
Beta 1 EUI4->ZUK6 ( Thanks to @zwenchao_1989)
Beta 2 ZUK6->ZUKC (Thanks to @zwenchao_1989)
Snapdragon
Note 20 Ultra 5G (SM-N986U1)
Z Fold 3 (F926U1)
Beta 2 ZUKA->ZUKJ
Latest Updates!!
- How To Check FPS On IQOO SmartPhones?
- Pubg VN New Update 3.0 Release Date
- How to Remove AI from Snapchat Chats? (No Snapchat Plus Needed)
- Xiaomi/Mi 90 FPS Supported Devices List In PUBG Mobile & BGMI
- (Real) GTA Amritsar PC Game Free Download in 2024
How To Install One UI 4.0 (Android 12) OTA Update For Samsung Galaxy Devices?
So Now let me tell you guys how you can install One UI 4.0 In your Samsung Galaxy
If you don’t Understand me then You can also read this XDA Article for a better Installation Guide.
Installation Methods
ADB-Method
- Download SDK platform-tools https://developer.android.com/studio/releases/platform-tools
- Extract the file to your desktop.
- Inside the extracted folder, put the update.zip file you downloaded.
- Inside this folder, holding left shift, do a right-click with the mouse and select “open command prompt here”, The command prompt will open.
- Shutdown your phone and connect it to your pc with an original cable
- Holding power and volume up buttons, enter into recovery mode.
- Select “update via ADB”. (scroll down using the volume buttons and select using the power button).
- Connect the phone to a PC using an original Samsung USB cable.
- In the command prompt run the following command: ./adb devices
- Wait to see that the daemon has started and that your device is found.
- If your device is found, run the following command: ./adb sideload update.zip
SD-card Method
- Download the bin file and rename it to update.zip (by going to file options on your pc you can select to view the file extensions. This makes the renaming process much easier and safer, and avoids renaming the file to update.zip.zip)
- Copy it to the root directory of your SDcard.
- Shut down your phone.
- Connect any USB device to your device, AKG earphones could work, then press Power+volume up buttons to get into recovery mode.
- Using your volume keys navigate to “update via sdcard” and press power button to select it.
- Again using volume keys navigate to the file “update.zip” and press power button to select it.
- An update will start. Leave it till it completes installing. It will take some time.
- The phone will reboot by itself and load android.
The update process will start.
You will see a percentage counting.
First, it will verify, then patch, etc. Do not move the cable, disconnect the phone, or power off the PC.
Once the process is completed (it takes some time) the phone will boot itself, update the apps and log into your home screen.
There are two methods that you can use to get into recovery mode:
Method 1:
1. Connect your phone to your PC (Make sure USB debugging is on).
2. Using ADB, enter the command ./adb reboot recovery
3. Wait for a little and you should be in recovery mode.
Method 2:
1. Power off your device
2. Connect your device to a PC or connect the AKG earphones.
3. Hold down the Power+VolumeUp buttons and keep pressing them until you enter recovery mode.
How to capture the update.bin file to share with other people:
1. Download HTTP canary app from play store
2. Open HTTP Canary app
3. Leave the app and go to the settings and Start the software update in settings by pressing “download” and don’t pause it
4. Go back to the canary app and start it by pressing the little circle at the bottom right, and it will grab the link for you
5. Copy the link and post it here if you wish.
This will not trip Knox if done by the methods above
Don’t install a beta unless you are fully aware of what you are going into.
Don’t install the beta if you want your phone to be stable, IT’S a BETA.
It’s recommended to make a backup of your data before updating to the Android 12 Beta.
Important Notes:
-Rename the .bin file to update.zip in order to be able to flash it from recovery.
-A common mistake done by some people is that they see the file named update while it’s a WinRAR.zip file already, then they add another .zip making the name of the file update.zip.zip which will not be flashed successfully, So make sure you do it right.
-Updating to the beta is AT YOUR RISK, No one is responsible if anything goes wrong.
You will not receive OTAs again UNTIL you are on a firmware that gets released later for your original CSC, that’s most likely not happening before the BETA is over.
| All Credit Goes To XDA Developers!! |
Thanks For Reading This Article If You Getting Any Kind Of Error Then Please Do A Comment In the Comment Section!!

Hey, My Name Is Sahitya Porwal Founder Of IconicTechs. I Am A Digital Content Creator. I Love To Share Information About Gaming & Technology.